This tutorial shows you how to install and set up React Native (with the React Native CLI) for iOS development, on a Mac (macOS).
Good to know before you do anything:
- macOS Mojave is the 2nd newest OS for Mac (2018)
- macOS Catalina is the newest OS for Mac (2019)
You won’t be able to run the latest version of Xcode if you use an OS older than Mojave, so you have to upgrade to:
- Mojave if your Mac is from around 2012-2016
- Catalina if your Mac is from 2016-2020
Why not upgrade to Catalina if your Mac is from 2012-2016? You can, but it will probably make your Mac significantly slower. Just upgrading from High Sierra to Mojave made my Mid-2014 MacBook Pro noticeably slower.
You don’t need Catalina to build apps with React Native, and since slow loading times drive me nuts, I’m not going to upgrade to Catalina unless I have to.
Install React Native dependencies for iOS
To build React Native apps for iOS you’ll need the following software:
- Node: a cross-platform runtime environment that allows you to run JavaScript on the server-side.
- Watchman: a performance-boosting tool that watches for changes in the filesystem.
- React Native CLI: the Command Line Interface
- Xcode: a suite of software tools for developing Apple/iOS software
- CocoaPods: an app dependency manager built with Ruby and used for Objective-C and Swift. We use it to manage external libraries.
As soon as they’re installed and we’ve done a tiny bit of configuration you’ll be able to launch your first barebone React Native app.
Let’s get started!
Install Node.js and Watchman
The recommended way to install Node and Watchman is by using Homebrew. Once you have Homebrew installed, run these commands in your terminal:
brew install node
brew install watchman
Note: if you already have Node installed, make sure it’s version 8.3 or newer. I’m currently on Node v12.16.1.
Installing could take a few minutes, depending on your Internet connection.
Install Xcode
If you already have Xcode, make sure you have version 11.3 or newer. Generally, you want to use the newest version of Xcode.
If you don’t have Xcode already, go get it from the App Store.

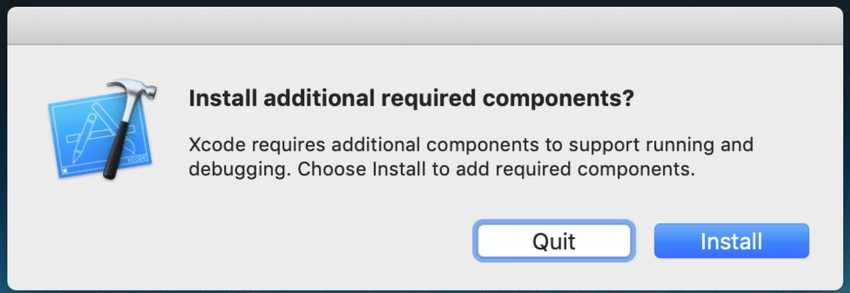
When it’s done installing, open Xcode and you’ll get a message like this:

Click install.
Install Xcode’s Command Line Tools
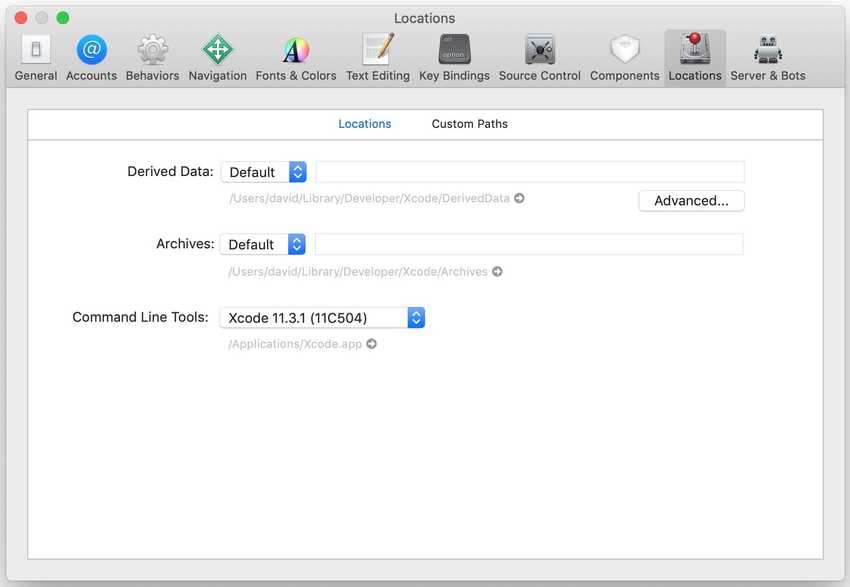
To install the Xcode Command Line Tools, open Xcode, and choose “Preferences” from the Xcode menu.

Now inside Preferences, go to the “Locations” panel and install the tools by selecting the most recent version in the Command Line Tools dropdown.
Install an iOS Simulator in Xcode
To simulate your native apps, Xcode offers various simulators for different generations of devices (phones, tablets).
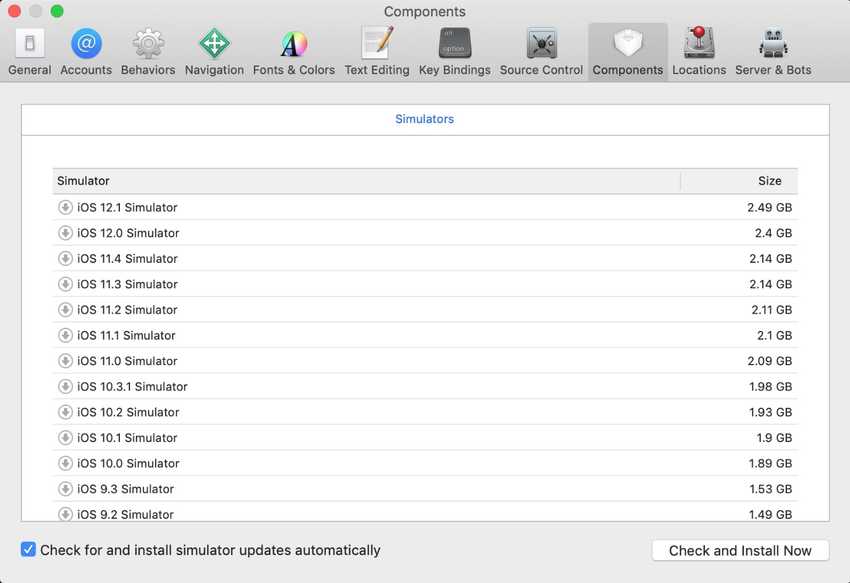
To install a simulator, go to Xcode > Preferences > Components:

I always pick the latest iOS version.
To select the simulator, click on the tiny arrow down icon, and you’ll get a prompt asking you to type your system password.
Downloading can take a while, even on fast Internet, as the Xcode servers aren’t super fast.
Install CocoaPods
To install CocoaPods, you need Ruby. As a Mac user, you should already have Ruby installed on your system.
Run the following command in your terminal to install CocoaPods (via Ruby):
sudo gem install cocoapodsSince we have to use sudo, you’ll have to enter your system password to allow the install.
We’ll get back to CocoaPods again later.
Create your first React Native project
Now, it’s time to do what you came for. To build your first React Native project, we’ll use the React Native CLI which ships with React Native by default.
Note: the official React Native guide warns:
If you previously installed a global react-native-cli package, please remove it as it may cause unexpected issues.
If you need help to remove React Native CLI, check out this StackOverflow thread.
To create your React Native project, run the following command in your terminal:
npx react-native init FirstProjectYou can call your project whatever you want.
Wait, what is npx? Npx is an npm package runner (it’s just a tool) that ships with Node.js. It’s a replacement for installing global packages. With npx you can install packages locally, but still, run them as if they were global. Sweet!
When React Native is done, you’ll have your first project set up. Your terminal will output some instructions on how to start your newly created project:
                  Welcome to React Native!
                 Learn once, write anywhere

✔ Downloading template
✔ Copying template
✔ Processing template
✔ Installing CocoaPods dependencies (this may take a few minutes)

  Run instructions for iOS:
    • cd /Users/david/FirstProject && npx react-native run-ios
    - or -
    • Open FirstProject/ios/FirstProject.xcworkspace in Xcode or run "xed -b ios"
    • Hit the Run button

  Run instructions for Android:
    • Have an Android emulator running (quickest way to get started), or a device connected.
    • cd /Users/david/FirstProject && npx react-native run-android
Running your React Native application
To run your newly created React Native project on iOS, run the following commands in your terminal:
cd FirstProject
npx react-native run-ios
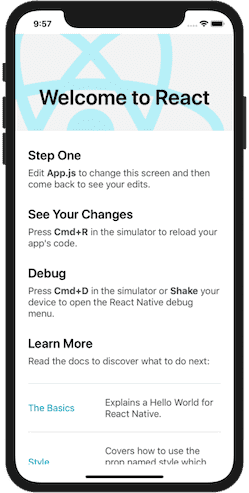
Shortly after you should see your React Native app running inside the iOS simulator:

If you want to set up React Native on Android too, here’s a guide for that: